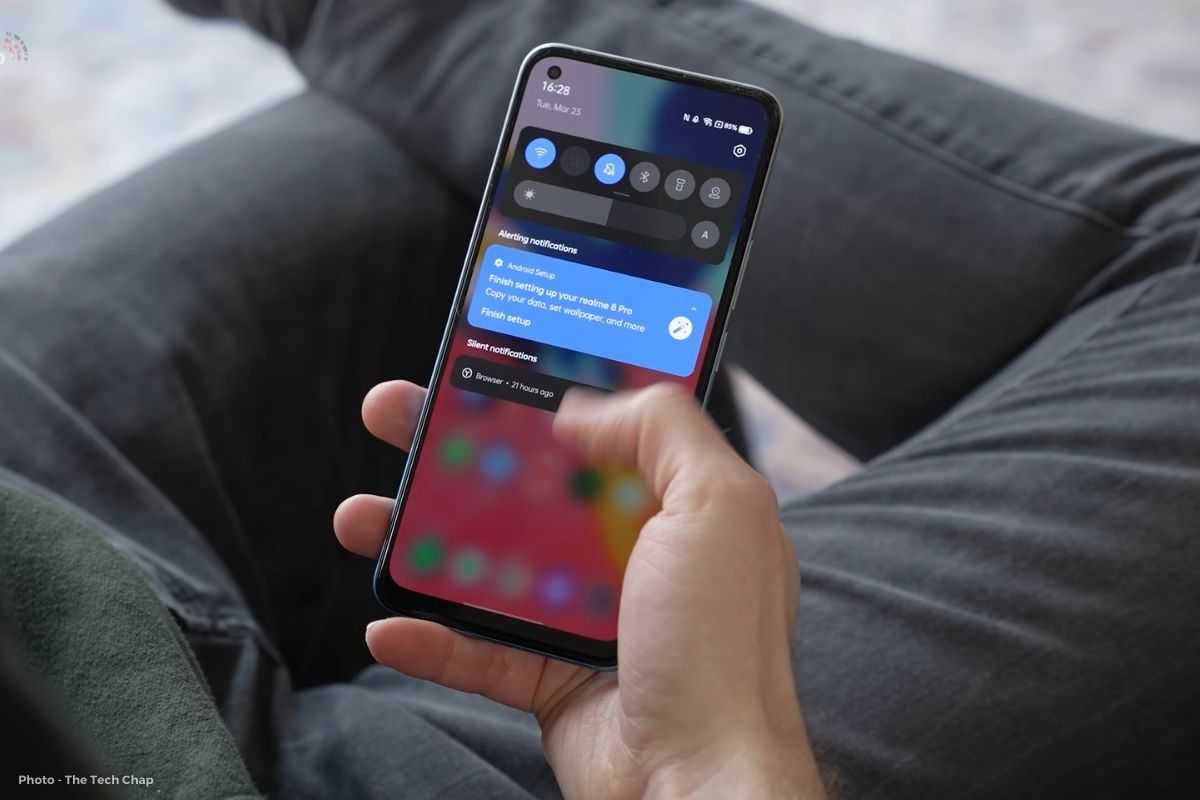
If you’ve just bought a brand-new Realme phone, you’re undoubtedly eager to try it out. There’s some initial setup to complete, but don’t be discouraged—whether you’re using a Realme GT 2 Pro or a Narzo 50A, the process of getting started with Android is very similar and painless.
We’ll cover all you need to know about setting up a new Realme Android phone right here, from linking your Google account to ensuring your phone is locked with fingerprint and face unlock. So you’ll be up and running in no time, ready to discover all of the latest Realme UI features.
Realme’s Android setup procedure is rather simple, but if you’re unsure how to narrow down the options available to you, here’s a step-by-step tutorial, with each of the available opinions explained. The below-mentioned guide takes into account all the new options and checkboxes presented with the latest Realme UI 3.0, so you’re all good to go.
How to Setup Your Realme Smartphone
The following guide will walk you through the process of correctly setting up your Realme phone. If you mistakenly skip a step, remember you can always go back or reset your phone and try again from the beginning.
1. Insert SIM Card and Turn On Your Phone

Following the unpacking process, the very first thing you should do with your Realme mobile is to insert the SIM card (if you plan on using one with the phone) and turn the phone on. If you push the power button for an extended period, the phone will buzz, show the Realme logo and start the first-boot process. From here, we’re going to go to work on setting things up.
2. Pick a Language
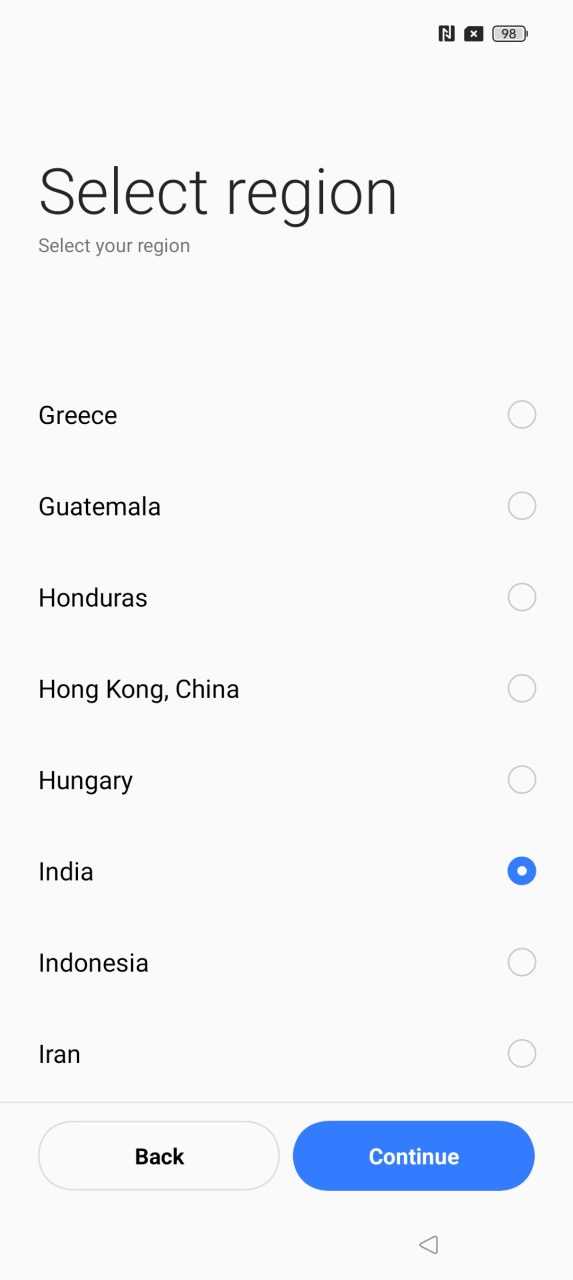
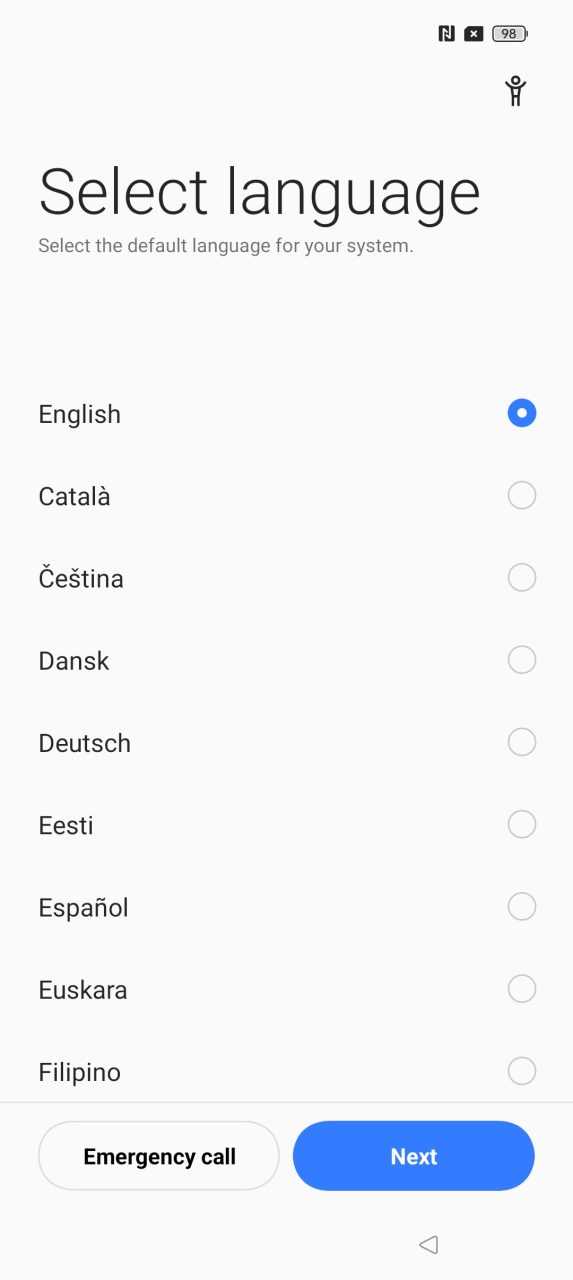
The next step is to choose a language for your Realme phone. In the drop-down menu, you can pick from a variety of local and international languages including Hindi, with English (United States) as the default. You may also make an emergency call from the same page as enabling or disabling the device accessibility options.
3. Read the User Agreement

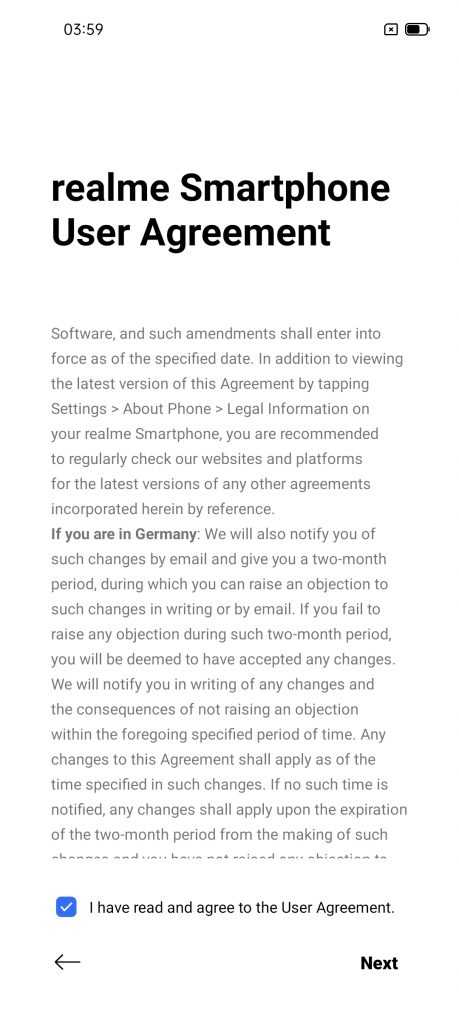
Every smartphone manufacturer has its own terms and conditions for collecting data and a user agreement policy. We suggest you go through the User Agreement (at least once) before you go ahead and set up the smartphone. Once you’ve read the agreement, check the I agree to button and then click Next.
Once you’ve accepted the User Agreement policy, you’ll be redirected to a page with the Terms of Service. While there are three checkboxes in total, two of them including a User Experience Program and System Stability Improvement program are optional and you may skip checking these boxes.
4. Connecting to the Internet
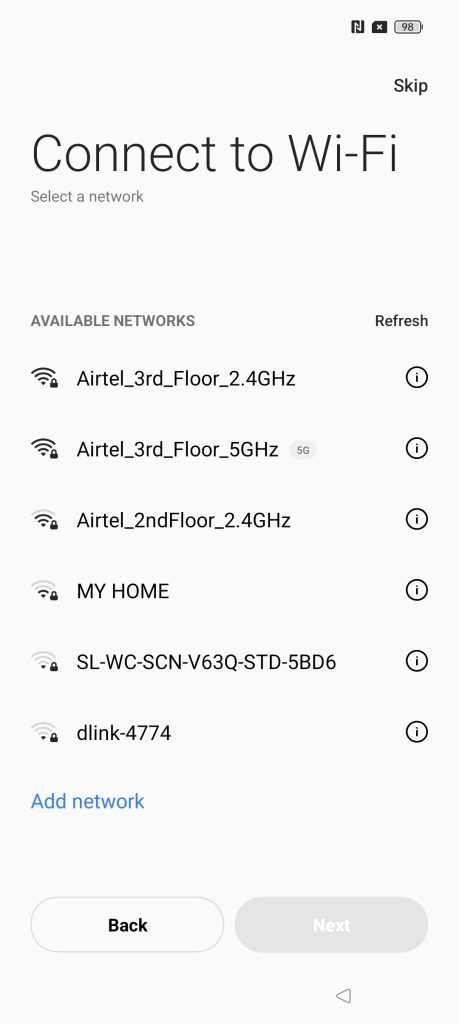
To complete the setup process “completely”, the phone will be required to be connected to the Internet. You can either use Wi-Fi or a mobile network. On the next screen, your smartphone will prompt you to connect to Wi-Fi and will present you with a selection of nearby wireless networks. Choose your Wi-Fi SSID, input the credentials, and once done tap on Next.
You may also Skip the Wi-Fi process and connect to the Internet at a later stage.
5. Location and Google Services
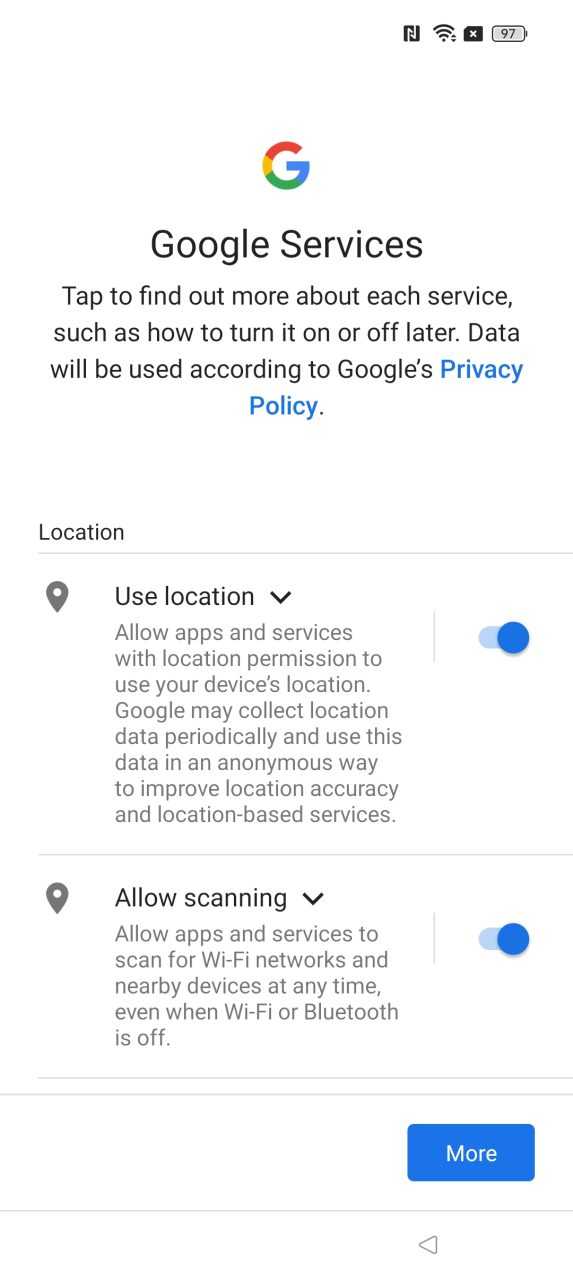
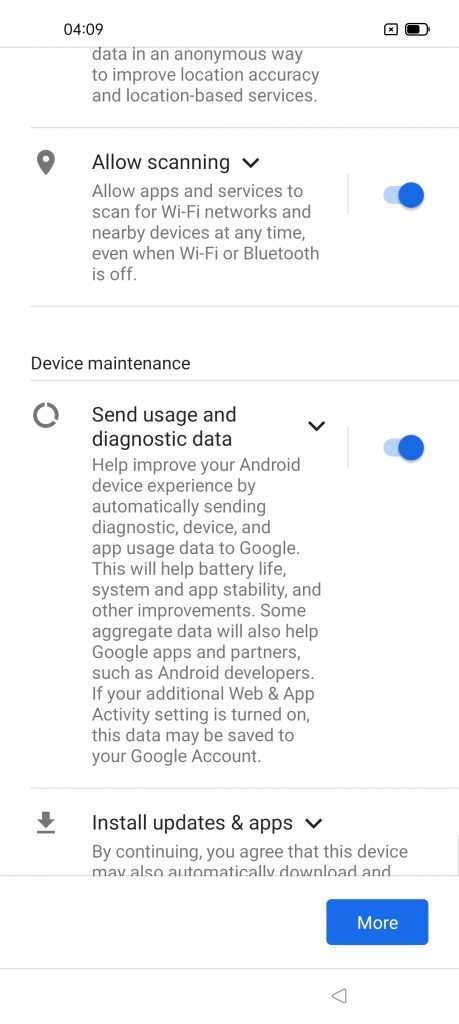
Since, your new Realme phone runs on Android, which in turn is developed and maintained by Google, it comes pre-installed with a slew of Google services, including email, maps, search, and more. On this screen, you’d be asked whether you’d like to let Apps and Services access your location, scan for Wi-Fi networks, and send usage and diagnostic data. Don’t fret if you disable them now, you can always turn them on at a later stage. Toggle on all the options you’d like and press Next.
As long as you’re OK with the terms and conditions, you can turn on the services you’ve selected.
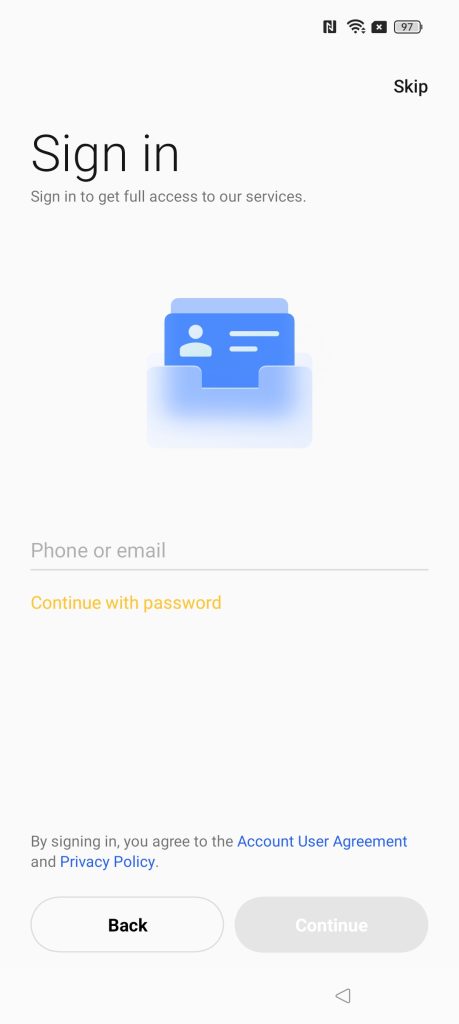
6. Secure Your Phone
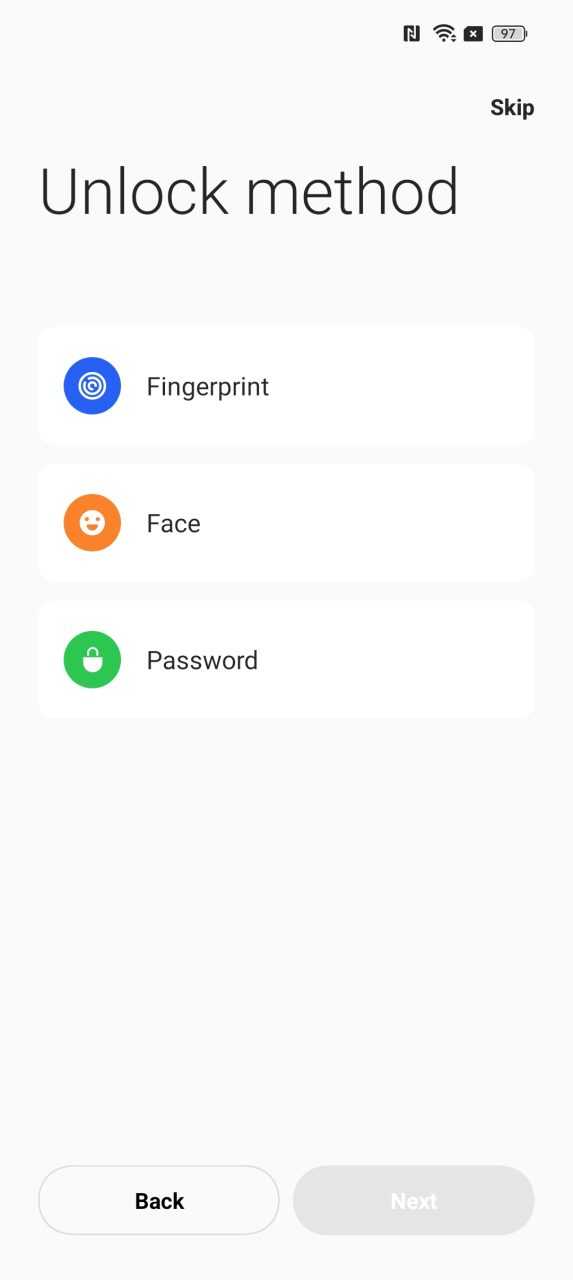

You should always create a password to safeguard your Realme smartphone and ensure that it can only be unlocked by you. This is ideal to have a piece of mind and keep your data safe.
There are a number of password-protection features built into newer Realme smartphones to keep your personal information safe. Fingerprint or facial unlock are examples of biometric unlock mechanisms that may be used instead of typical PIN/Password/Pattern techniques to unlock your device. To set up Face Unlock, choose Face from the options, and rotate your head 360-degrees in the camera’s field of view to create a 3D object of your head. This will be used to authenticate your identity and give access to the phone later.
Fingerprint unlock, captures your sensitive fingerprint data from either the rear-mounted, side-mounted, or in-display fingerprint scanner and stores it on the phone’s special chipset. You will need to repeatedly keep your finger on the scanner and take it off to create a proper impression.
7. HeyTap (Optional)
Available on Realme and OPPO smartphones, HeyTap is a platform that promises to deliver full worldwide Internet services such as App Market, Game Center, and Browser to give a better and more comfortable Internet experience. However, this is completely optional and we recommend you skip this step for a better privacy POV.
You have the option of creating an account with HeyTap or logging in with your existing credentials if you already have one. If you don’t want to see any of it, tap the Later option at the bottom right of the device’s display.
8. Recommended Options

Your Realme smartphone will ask for permission to utilize features like Glance and Personalized Search before they can be used on your device. You have complete control over whether or not to enable or disable the settings. Simply choose the desired option to move to the next page.
Glance for Realme is a utility that displays a curated collection of photos on your lock screen, similar to how a magazine would be flipped through. Personalized Search uses internet search services in the launcher’s app drawer. Auto Update Overnight will update your phone to the newest version automatically whenever one is available while you’re sleeping.
9. Import Data (Optional)
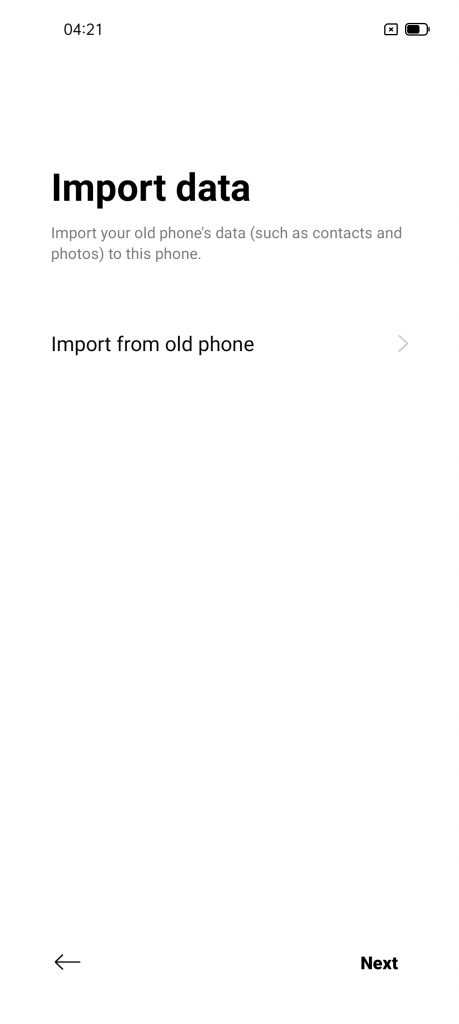
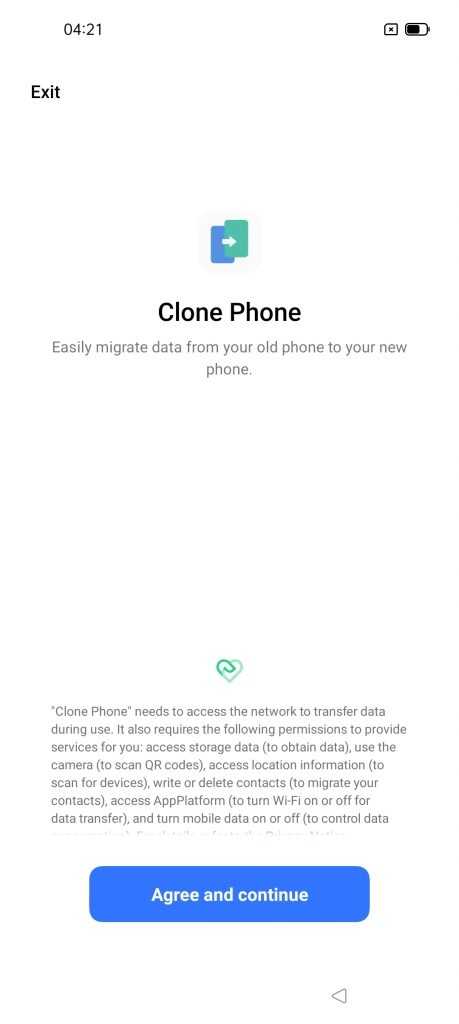
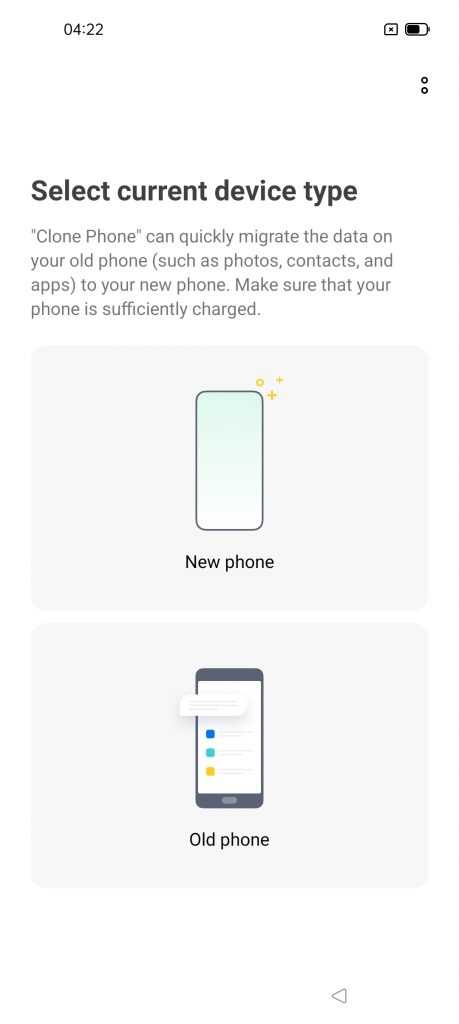
The Clone Phone feature, which is available during the initial setup phase, may be used to transfer data from an old smartphone to a new phone. To transfer data to your new phone, you may use a Realme device, any Android phone, or even an iPhone.
Your new Realme phone will display a QR code that you may use to transfer data from your old phone. You’ll need to use a web browser or the Google Play Store to download and install the Clone Phone software for Android phones that don’t already have it.
If you don’t want to import your data to your new Realme phone and instead want to start fresh, you may skip this step and select the Next button.
10. Let’s Begin
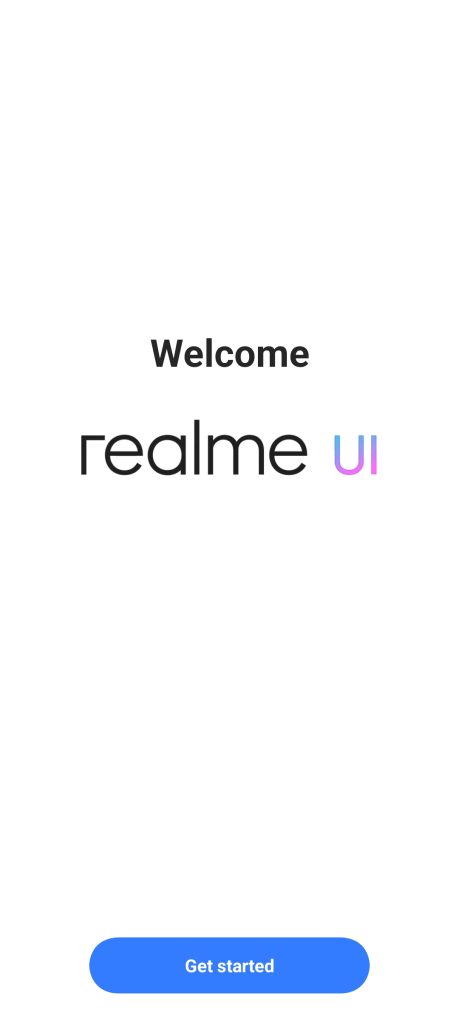
Salutations and congratulations! You’ve successfully finished the Realme smartphone setup procedure. You may start using your smartphone by pressing the Get Started button on the screen.
Wasn’t the process simple enough? Do let us know your thoughts by dropping a comment down below.
